Thursday, December 1, 2016

Math Power [Hour]

In a nut shell- this is a great review activity that really could be used for ANYTHING!

I use this in all of my classes I have taught- Math 7, Algebra 1, Life Science...

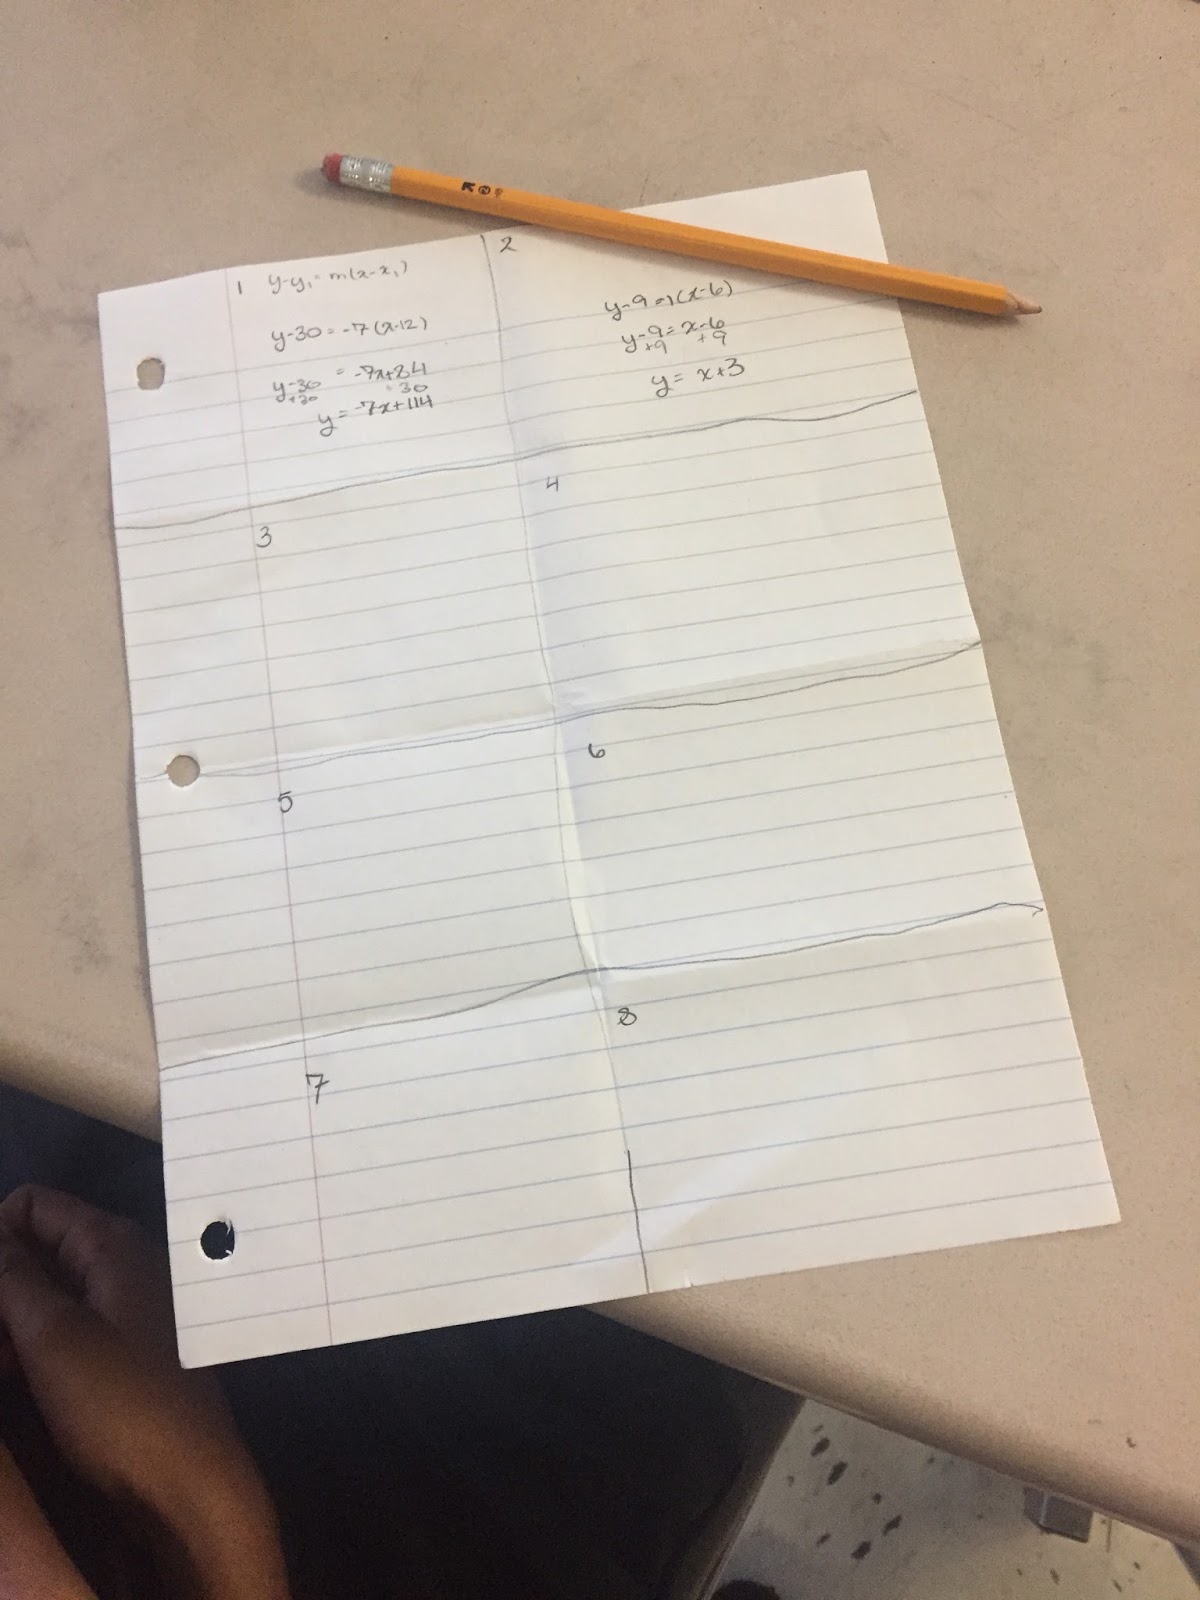
Certainly, you could print something out that was nice and pretty for students to show work and write down their answers. I don't. I have students follow me (no speaking) and fold their notebook paper like I do. I demonstrate and they follow folding the paper so to create a certain number of boxes (ie. 8 boxes, 16, 32 (those are the easy ones)).  We number each box and draw lines on all the creases- and now they have an answer sheet with work space (and every kids looks the same!!) [easy grading!].


Now to the meat and potatoes of [math] Power Hours. Yes- I got this after power hours that some may or may not done in college. No it has nothing to do with drinking. Obviously. I am sure there are more teachers in this world that do activities- just like this! I just happen to be sharing the idea! Let's be honest nothing is truly new at this point...So, If you know anything about power hours, the music changes each minute- tada! That is where this idea stemmed from! 

I come up with review problems and attach music to each problem. When the music changes....so does the problem! My students love it! They can chat, work on problems, ask each other questions... and most importantly sing along!- but as soon as the song changes they know they have to move on. 

I always create these on PowerPoint slides. I do it for several reasons but mainly because I can set timers, insert music and change slides very easily. I am sure there are several other programs that you could use. 

Here are a few examples of what we did today in Algebra 1-- writing equations in Point Slope Form and converting them to slope intercept form. 


A few questions regarding the activity that I have gotten in the past--

  • Where do you get the music?
  • How do you attach music? 
  • How fast do you go? Really one minute?
Where do I get my music? 
  • Yes, I purchase my music! Yes, I purchase music the kids enjoy and know! Not all the music on NOW! CD's/MP3s are "clean" but they are supposed to be. So I am definitely not vouching for them. I listen through the tracks a few times- but I find the NOW! music current and fairly cheap on Amazon. Remember I also teach upper middle school and not everything on the radio is always the best for younger kiddos. 
  • With Amazon you also have ten downloads on different devices when you purchase the MP3 version. I am sure there are plenty of other places to download and any music will suffice-- this is just what I use. 


 How do you attach music to PowerPoint? 
  • It is really not that hard! Have your music downloaded and your slides made with questions. 
  • Click Insert--> Click Audio/Media--> Audio from File--> Find and Select your song 
  • Then the important part: When you have the audio "clicked on" you must change it to start automatically!!! (not on click!). This allows the music to start as soon as you change the slide. 


How fast do you go? Really one minute?
  • I used to have them automatically change. However, honestly my classes work at different paces. Now, I no longer time them. I look around the room and when most kids are done working (timely!!!) I press the right arrow button on my keyboard or touch my ActiveBoard with my pen. It really depends on the problem, most are about 30 seconds to 90 seconds. 
  • AND NO!!!! I do not do this for a whole hour! Usually only about 8-16 problems, some that go quicker I may do more! 
It has become an easy and wonderful review activity that my students really enjoy. It also allows me to help individual students (which is always great) and the rest of my students are able to work, chat, sing and enjoy their neighbors. We also love to bond over the music- because honestly-- aren't sing-a-longs the best?!

Enjoy! 

What wonderful review activities are your favorites? 


    Tuesday, November 29, 2016

    Adding [and subtracting] Integers

    I tried teaching the rules.

    I did.

    It worked, for my strongest math students. Though, many of my students couldn't wrap their head around why - "Like terms, add, keep the sign. Unlike terms, subtract, keep the bigger number's sign"... It was more a process than understanding.  We had modeled with dots, number lines, etc.

    Then a few years back an ELL teacher had an idea about playing with pieces. That year we tried using little cut up squares of paper- different colors represented positive and negative. This worked- but wasn't the best.

    Then came about PASTA!


    Students put three pieces of pasta into the negative bowl and four pieces into the positive bowl. Matched up zero pairs and then saw how many they were left with. The tangible pieces of the pasta honestly made all the difference. It was incredible!

    This is how it looked on my Active Board:


    We play, we match positive and negative pasta to make zero pairs. We match until there are no more matches. We count, we observe where the pasta is left. IT MAKES SENSE! The kids then transfer that to what I call- a P/N Chart. We practice and slowly but surely we ween the chart away.


    This chart as been incredibly successful for kids to relate the pasta bowls to. It has been an easy transition to discuss if they would be in the same pasta bowl or different pasta bowls. Here are two examples of how we solved problems using the charts. If they are different sides they decided how many would have matched and how many were left over. I definitely felt like a broken record quite often.... 
    • How many match? (it is funny to hear the kids tell me there are no matches!!)
    • How many are left over? 
    • Is it positive or negative? How do you know? 


    Soon they are truly making up their own rules! [teachers favorite moment ever!]

    And- we don't do SUBTRACTING! I know this seems crazy! No more KFC (keep it, flip it, change it).  It helps our students so much for them to realize that subtracting and negatives really mean the same thing (take away!). Which helps with the dreaded question of "Is this a negative or a subtraction sign???" I start by using circles around my problems to show them that a negative sign and a subtraction sign really is the same thing!


    With problems that are double negatives, we conquer them as the English language does.
    "She is not unhappy"-- what does that really mean? "She is happy"
    Therefore:


    As Integers is our first unit of the year in Math 7 it is a challenge to start with a unit that is often so difficult. However, students love all the manipulatives.  Having students break things down themselves really does promote discovery and creation of rules on their own! Hope you can get something from this!

    How have you taught adding integers?


    Follow my blog with Bloglovin


    Sunday, November 20, 2016

    Translating Expressions

    Translating expressions with seventh graders is always tough. This year I found a great resource while searching online to practice: Bingo!
    In the past- I have been weary of using Bingo because if you give the students blank cards, there is always the kid that cheats when they write in, the writing in TAKES FOREVER, and then I always end up not using the kids Bingo sheets again (because let's be honest, they are sloppy!)
    I have never used EduBakery before and kind of just stumbled upon it. The Translating Bingo has five different versions (depending on what you are teaching). However, the neatest part that I loved was that you tell it how many you want to print and VOILA! the hardest part about Bingo is done (28 randomly assorted cards pop up!). The ease of use this site was amazing! 
    They also give you a list of all of the translating expressions used. Here is how I made it work with my class.  I made a quick PowerPoint with a slide with each written expression (ie: n- 7: seven less than a number). Then after making one PowerPoint I just shuffled it so I would have a bunch of different ways to play.


    Here is the downfall I found with their version: They use the dreaded DIVISION sign. This may not bother you, however, this year I really try to do away with it and just use the vinculum (the fraction bar). My students didn't have an issue with it, but this was the major downfall of these. 
    I printed these on card stock, cut them out and laminated them. I plan to use them next year as well and potentially ask students to write any division sign in another way using dry erase markers on their Bingo cards! 
    Overall, this was a very successful review activity! If you don't have counters or bingo chips these are the ones I got off of Amazon.

    Sunday, October 16, 2016

    Scientific Notation

    Each year I teach scientific notation I feel that it should go a lot smoother than it ends up going. Truly, I feel like it is one thing I have a really hard time breaking down for students. I think mostly, because it seems so simple to me in my head.

    In actuality, the students that seem to struggle on this the most are students that already struggle with basic Number Sense (and the understanding of a numbers value in general).  Therefore, the fact that this is part of our huge Number Sense Unit (comprised of Perfect Squares, Square Roots, Converting Fractions, Decimals and Percents, Comparing and Ordering, Powers of Ten and Scientific Notation)....doesn't make it any easier.

    Each year I have started this part of the unit with some crazy big/and crazy small statistics that seem very difficult to read. For instance, diameter of a grain of sand, circumference in inches of the world, number of people in the world, diameter of an electron, etc. This allows students to see why we use scientific notation!

    However, this year I decided to try several new activities when approaching Scientific Notation.


    I started by giving out a series of numbers written in scientific notation (both positive and negative exponents). Students worked in groups and had to cut out the correct number of x10 or x1/10 that the exponent said. This seemed to make sense to them very quickly as a positive exponent like 10^3 they knew was 10 x 10 x 10. Underneath each time they multiplied they had to show the change in the number.  I think this was truly the first time that I felt like students could actually see the number getting bigger and smaller (and actually place the decimal in the correct location).
    Of course, it seems that I have not taken any photos of what the students end up writing.... however, this is the general idea of what my students ended up figuring out. 
    I think this was a great way to start scientific notation. It truly enabled students to see the growth and decrease of the number depending on the exponent (and most importantly the change in the decimal place, and how that greatly affects our number!).

    As another supportive activity to this part of our unit we played Scientific Notations Dominoes this was taken from Durham County Public Schools. My students really enjoyed this activity and it really allowed students to work together to get rid of their dominoes.  I did have students pass out all the cards first and place them facing up.  When a card was played all students had to use their whiteboards to determine what the next card should be, this allowed students to work together. 
    For a challenge to see the students that truly understood value of numbers. I gave each number a card and had them convert their number to standard form, they ordered themselves as a table group, then two table groups and then a silent challenge: the whole class! I got this ideas from from a blog that I absolutely love mathequalslove, from one of her recent posts on scientific notation.  This activity was truly a challenge, however, I scaffold it a bit by working in small groups and moving to larger groups. In addition, I also had students convert their numbers to standard notation first! 

    This year, I did not have a chance to do a matching activity with scientific notation (which I usually do). I wonder if my matching (Tarsia-like puzzle) would have been a good addition still. 

    What have you done to help students really wrap their head around Scientific Notation?

    Follow my blog with Bloglovin

    Wednesday, September 28, 2016

    The beginning of the love of Interactive Notebooks

    For my first 4 years of teaching math I asked students to have "a place" to write notes. Half the time that was little more than a random scrap of paper or maybe a spiral notebook. I was lucky if it came to school each day, it had little to no organization, and very little of my time in class was spent taking notes. With the lack of note organization in general, I emphasized activities and practice of content, though rarely students had a place to use to recall content throughout the year... what did this lead to?? countless hours of me reteaching.

    A few years ago, I jumped into interactive notebooks and have no intention of ever turning back!
    I was terrified my first year. All the What ifs?!? What if a kid loses it? What if a kid doesn't bring it? What if I run out of space? What do I put in it? What don't I put in it? Do theirs have to look exactly like mine? Do I make one too? What if their's doesn't look like mine?

    Each year, I tweak, make new things, update, etc. But, it truly has COMPLETELY CHANGED MY TEACHING.
    I could write for days about Interactive Notebooks and honestly, probably will spend much of this blog writing about them... But for today- how the heck to keep them organized?
    The last 2 years, I had a running Table of Contents (all year long). They ended up being about the first 4 pages of the composition notebook and ultimately- kids rarely kept up with it. AKA- this meant kids had NO idea where stuff was and would just skim through until they found it!

    This year I was determined to make a change! 


    At the end of last year I asked my kids a few questions regarding their "Notes Notebook".
    1.  What they liked?
    2. What they wished I changed for next year?
    3. What they wished they did better with it?


    First off, kids loved that everything for math was in one place. Secondly, they loved that they had created it. That was probably the number one positive response I received.  They also, couldn't believe all that we had done and each year- many kids say they refer back to it all the time in Algebra and Geometry! (Yay!!) The Table of Contents was the biggest thing students wanted a change. The second largest item for change- a way to break up each unit! This got me thinking! The thing that most students wished they did better: keeping up with the table of contents and always writing neatly.


    I thought about the table of contents a lot this summer and the above photos is what I have come up with. 8 1/2 x 11 sheet of paper (folded in half), We glue it to the front and back of the page (and make it stick out a little bit). This gives you a tab for the unit. The TAB! How phenomenal? Each unit, has its own little tab! #Winning. A student had suggested a sticky note for each unit- this is "my take" on the sticky note!
    So far, my first two units I have made each Table of Contents a different color.... can I keep up different colors??? How many units will this be?
    On the first side is the Table of Contents (solely for that unit).
    On the back is a section that I stamp for homework completion. THIS HAS BEEN A LIFE SAFER! Each day, I stamp (middle schoolers love the stamps!) if they have completed their homework. On the day of the test, I'll say "Okay, take out your notebooks. If you have six stamps you are ready to take the test." All students that have six stamps start the test, if you are not ready- you work on the "formatives" (homework) while others start the tests. Let me tell you, homework completion is NO longer an issue!

    There are so many things I love about Interactive Notebooks and more will come!

    Enjoy!

    Any Table of Contents wins that you have done with your notebooks???

    -Kjersti

    PS- this is solely for my Math 7 course. My Algebra 1 course also completes a Table of Contents but theirs looks a little bit different as I have them use 5 subject notebooks not composition notebooks!

    This Table of Contents was made using KG Fonts.

    Wednesday, August 31, 2016

    Day 1

    Teaching on the first day. 

    It is something I wrestle with each and every year. I yearn to just jump into the MATH- to start the learning- start my interactive notebooks- start the brains turning! 

    It is something I adamantly attempt to never do. 

    I have a lot of reasons for this- 

    • NOT because I want to hear about their summer.
    • NOT because I want to get to know them. 
    • NOT because I want to go easy on the first day. 
    • because I want to CHALLENGE them. 
    • because I want them to struggle.
    • because I want them to use each other and lean on each other. 
    The past two years I have used "SAVING FRED" as my opening activity (except with 4 people). You CANNOT do this alone. This instills that you have to work together in my class and that I expect it! I also have them fill out the sheet that is attached! They have to tell me their challenges, enjoyment level, and draw and write what their team did! 


    I show them mistakes that I made on problems- AND make them find them, fix them, and tell me what I did wrong! It instills that everyone makes mistakes and we are expected to make them and FIX them! 

    I also talk about how I will show them each other's mistakes and expect us all to help each other succeed. I call this my favorite mistake- but I'll get to this later. 

    Yes- I still make time for the basics- where things are, about me, my expectations, etc. But, we make the room comfortable, approachable, and we work together. That to me is my perfect: Day 1. 

    -Kjersti